In macOS Mojave, the “Back to my Mac” feature is being retired. So what alternatives are there?
Back to my Mac let you remotely access files on your Mac and use screen sharing to remotely control your Mac, using Apple’s iCloud service as a go-between.
However there’s a better, more secure way to do that – with a VPN. A home VPN connection gives you direct, encrypted access to your devices on your home network, with full security. Think of it as Back to my Mac for your entire home network! And you're not just limited to files and screen sharing – you can access anything as if you were sitting in your house.
First, you’ll need a router at your home or office that supports VPN connections: log on to your router configuration page and look around for “VPN” settings. Many home devices now offer OpenVPN support, including NETGEAR, ASUS and other popular home wifi routers. Alternatively, your router may offer L2TP, or (less commonly on home devices), IPsec VPN support - all of which are supported by VPN Tracker.
Download and setup VPN Tracker
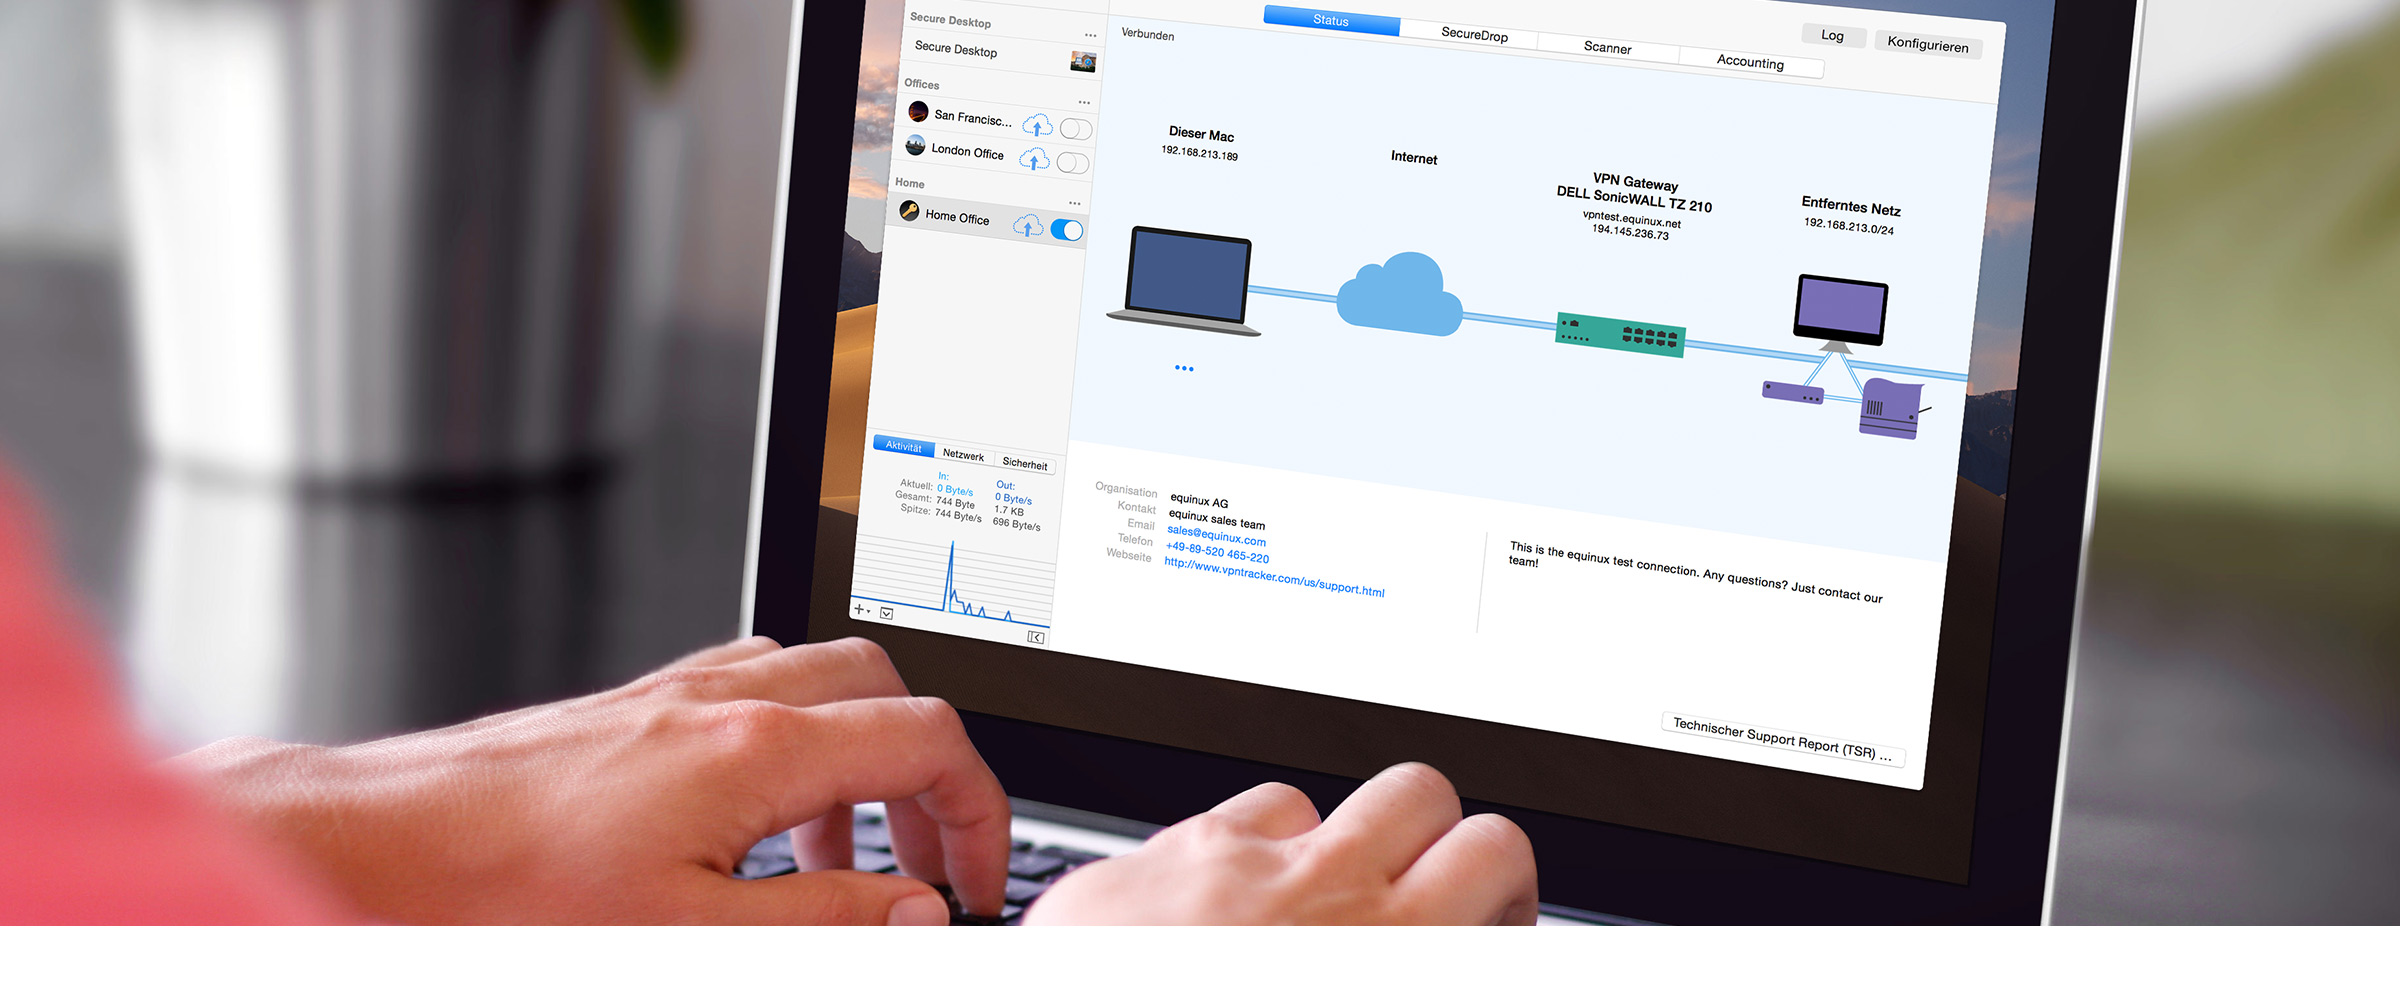
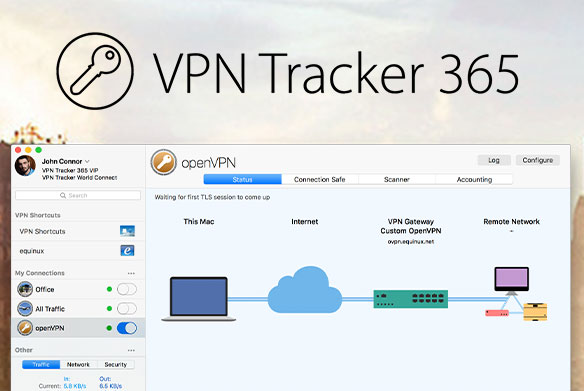
Grab VPN Tracker 365 from our website and create a new connection. Choose your device manufacturer if listed, or the VPN protocol you’ll be using. Follow our detailed configuration guide on how to set up VPN on your router – if you get stuck, get in touch with our support team.
Test your connection over a hotspot
You’ll need to use a different internet connection to test your VPN setup, so either use your phone’s hotspot feature, or head down to your favorite coffee spot and hop on their WiFi. Then try out your connection.
Add Shortcuts for files and screen sharing
Once you’ve got everything configured and working, you can use the VPN Shortcuts feature to add quick links to your Files and the Screen Sharing feature on your Mac at home.
Stuck? Questions? Get in touch with our support team.


